Overview
For a micro-controller that doesn't have a analog to digital converter module, the designer can choose any others temperature sensor that use any communication method, I2C, SPI, or even 1-Wire serial communication interface. A 1-Wire digital thermometer is very popular due to its low cost, multiples device communication, low pins count (a few wires).
 |
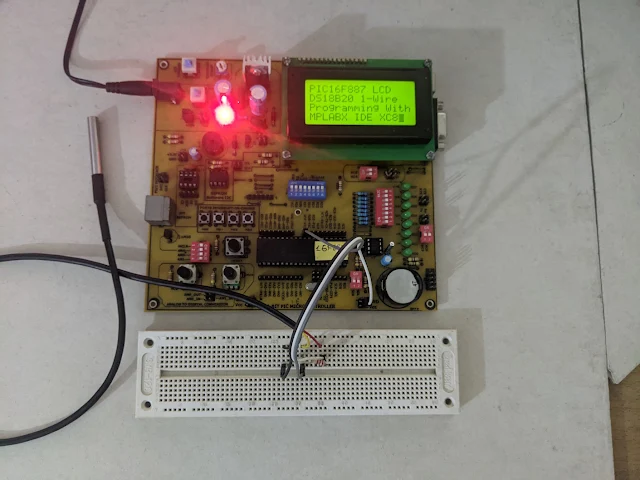
| Prototype Board Test |
DS18X20 temperature sensor is in common now. Using only one data pin the controller able to control up to 127 DS18X20 devices on a single bus with distinct device unique ID (ROM). Here I use a DS18B20 temperature sensor to interface with a Microchip PIC16F887 micro-controller. I don't write any more details here you check it in previous post.
 |
| DS18B20 Pin Configurations |
This device requires only three wires GND, DQ, and VDD, or ever two wires mode (parasitic power supply). These three wires will share with other 1-Wire devices for multiple device connections.
MPLABX IDE and XC8 Programming
Arduino platform has various libraries for this sensor. Other C compilers such as MikroC, CCS PICC also has their own libraries for this device. However I write my own libraries follow the original application note created by the device manufacture.
MPLABX IDE and XC8 C compiler for 8-bit PIC micro-controller is free to use (without code optimization).
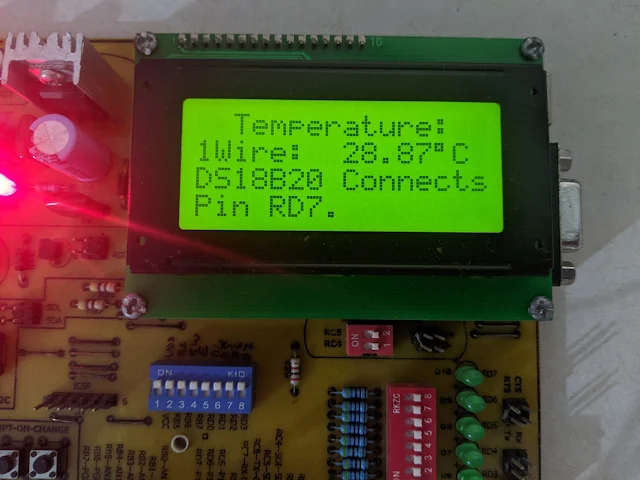
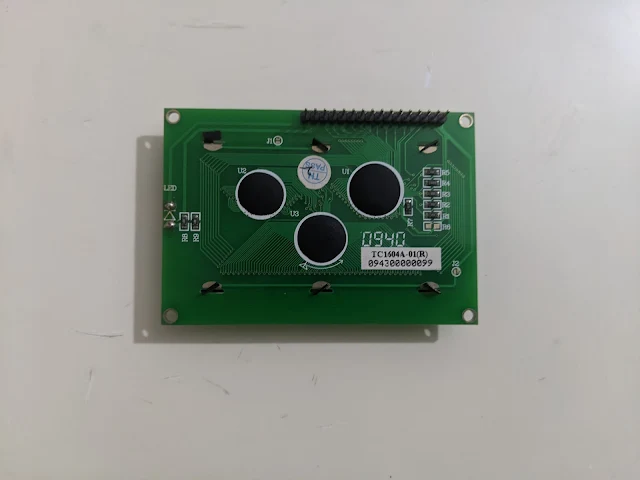
In this example, I use my own 8-bit PIC Prototyping Board to test this program. It has an on-board 16x2 LCD module (TINSHARP TC1604A-01).
 |
| TC1604A-01 Front |
 |
| TC1604A-01 Back View |
PIC16F887 doesn't require an external crystal oscillator. It's operated by its internal RC oscillator with a selected 8MHz clock frequency.
Without using C floating point and sprintf() function, it saves ROM and RAM usage.
 |
| MPLABX IDE Dashboard |
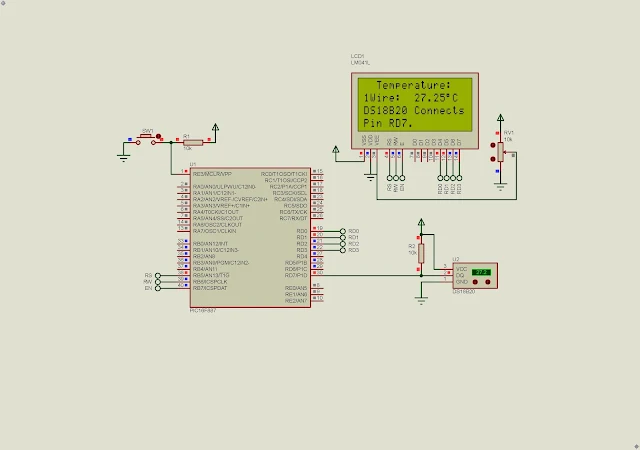
Proteus can be used for schematic design, or even circuit simulation.
 |
| Initialization |
 |
| Temperature Reading In Simulator |
Click here to download its source file. I use MPLABX IDE v6.15 and XC8 C compiler v2.36 free edition.
 |
| Temperature Reading |
This old DIY prototyping board works well easing component placement board breadboard.

No comments:
Post a Comment