In previous post, I showed about LCD interfacing with PIC16F84A using an 8-bit data mode. For ease of use, most most electronic hobbyists use a 4-bit data mode. It uses only four upper bits D4...7 of the LCD module. The command or data is still 8-bit wide. So the micro-controller needs to send command or data twice. The upper nibble will be transfer first and then the lower nibble.
 |
| Simulating Program |
 |
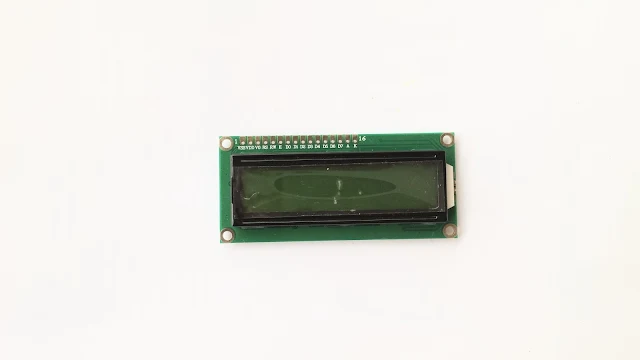
| A low 16x2 cost LCD module (TOP) |
.jpg) |
| A low 16x2 cost LCD module (BOTTOM) |
Example 1
In this example I use Port B to interface with this LCD module. Because of PIC micro-controller has a bit addressable instruction, hence we can use a single port interfacing easily. The IDE is MPLABX IDE v1.51 with the XC8 v2.36 compiler.
/*
* Character LCD Interfacing Using 4-Bit Mode
* Programming WIth MPLABX XC8
*/
#include <xc.h>
// PIC16F84A Configuration Bit Settings
// CONFIG
#pragma config FOSC = XT // Oscillator Selection bits (XT oscillator)
#pragma config WDTE = OFF // Watchdog Timer (WDT disabled)
#pragma config PWRTE = OFF // Power-up Timer Enable bit (Power-up Timer is disabled)
#pragma config CP = OFF // Code Protection bit (Code protection disabled)
#define _XTAL_FREQ 4000000UL
#define RS RB0
#define EN RB1
#define DATA8 PORTB
void lcdCommand(uint8_t cmd){
DATA8=cmd&0xF0;
RS=0;
EN=1;
__delay_us(10);
EN=0;
__delay_us(10);
DATA8=cmd<<4;
RS=0;
EN=1;
__delay_us(10);
EN=0;
__delay_us(10);
__delay_us(100);
}
void lcdData(uint8_t dat){
DATA8=dat&0xF0;
RS=1;
EN=1;
__delay_us(10);
EN=0;
__delay_us(10);
DATA8=dat<<4;
RS=1;
EN=1;
__delay_us(10);
EN=0;
__delay_us(10);
__delay_us(100);
}
void lcdXY(uint8_t x,uint8_t y){
/*16x2 Character LCD*/
uint8_t addr[]={0x80,0xC0};
lcdCommand(addr[y-1]+x-1);
}
void lcdString(uint8_t *str){
while(*str) lcdData(*str++);
}
void lcdInit(void){
EN=0;
__delay_us(100);
lcdCommand(0x33);
__delay_us(1);
lcdCommand(0x32);
__delay_us(1);
lcdCommand(0x28);
__delay_us(1);
lcdCommand(0x0F);
__delay_us(1);
lcdCommand(0x01);
__delay_ms(5);
lcdCommand(0x06);
}
int main(void){
PORTB=0;
TRISB=0;
lcdInit();
lcdXY(3,1);
lcdString("Hello World!");
__delay_ms(1500);
lcdXY(2,2);
lcdString("PIC16F84A LCD");
while(1);
return 0;
}
Click here to download its source file.
Example 2 - Making A Library Function
For convenient we can make a library function for this LCD controller. We need to make a *.h and a *.c file that will include in project as shown in the example below.
#include <xc.h>
#define _XTAL_FREQ 4000000UL
#include "LCD4Bits.h"
int main(void){
PORTB=0;
TRISB=0;
lcdInit();
__delay_ms(1000);
lcdXY(3,1);
lcdString("Hello World!");
lcdXY(4,2);
lcdString("PIC16F84A");
__delay_ms(1500);
lcdCommand(0x0C);
lcdCommand(CLEAR_SCREEN);
__delay_ms(500);
lcdString("Programming With MPLABX XC8 v2.36");
lcdXY(1,2);
lcdString("16x2 HD44780 Character LCD Module");
__delay_ms(1000);
for(uint8_t i=0;i<34;i++){
__delay_ms(500);
lcdCommand(MOVE_LEFT);
}
lcdCommand(CLEAR_SCREEN);
__delay_ms(500);
lcdXY(3,1);
lcdString("AKI-Technical");
lcdXY(6,2);
lcdString("BLOGGER");
for(uint8_t i=0;i<16;i++) lcdCommand(MOVE_LEFT);
for(uint8_t i=0;i<16;i++){
__delay_ms(500);
lcdCommand(MOVE_RIGHT);
}
while(1){}
return 0;
}
This example scrolls the display left and right.
 |
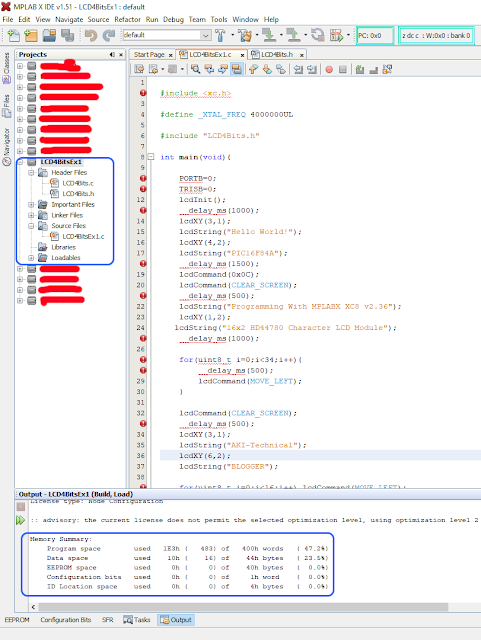
| MPLABX IDE |
 |
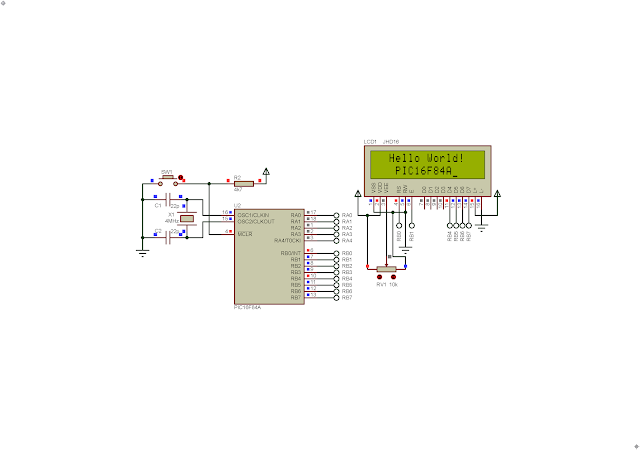
| Simulating Program #1 |
 |
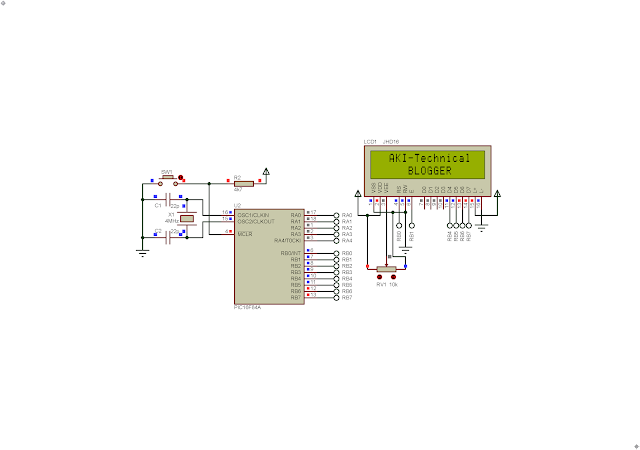
| Simulating Program #2 |
Click here to download its source file.


.jpg)


No comments:
Post a Comment