The HD44780-base character LCD is easy to interface with. Electronic technician can test it manually using a simple logic circuit, digital IC circuit, or even using a small micro-controller. Using a micro-controller to interface with this LCD module is very straight forward. The controller only need its 8-bit data port, a Register Select (RS) pin, and Enable (E) pin for the LCD module. The LCD module just need to receive data. So its Read or Write (R/W) is connects to logic 0 or GND. For more information of using this character LCD module using the 8-bit interfacing mode, please see this post.
 |
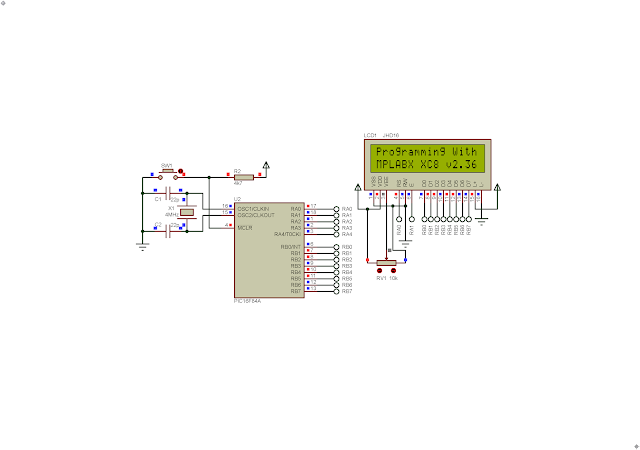
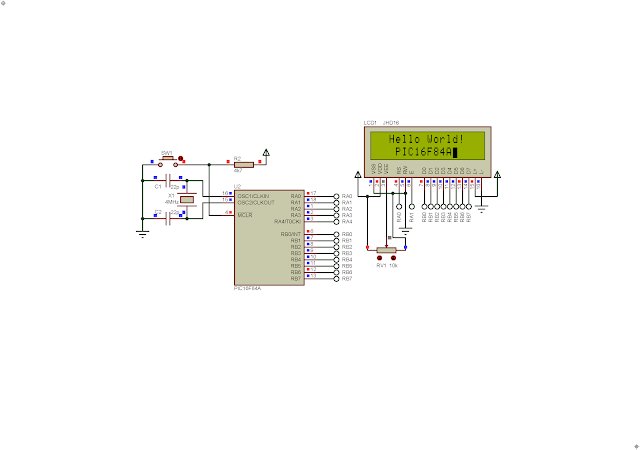
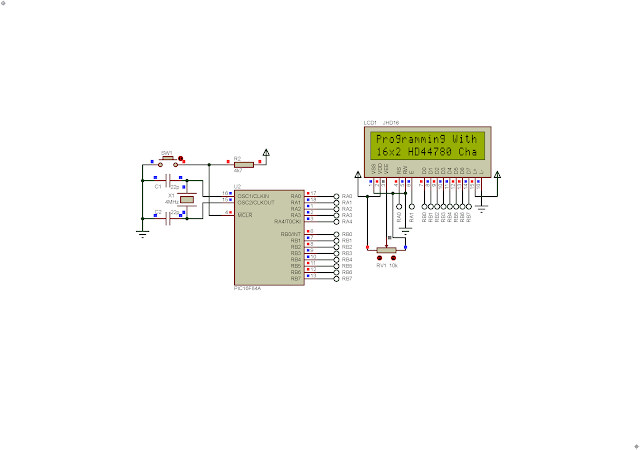
| Program Simulation In Proteus #A |
 |
| Program Simulation In Proteus #B |
In this example, I use a simple 8-bit micro-controller, PIC16F84A to interface with this LCD module. It has two general-purpose I/O ports, Port A and Port B. Its total I/O is 11. Port B connects to the 8-bit LCD data bus, while Port A RA0 and RA1 connects to LCD RS and E respectively. The LCD E pin connects to GND as it just need to accept input data or command.
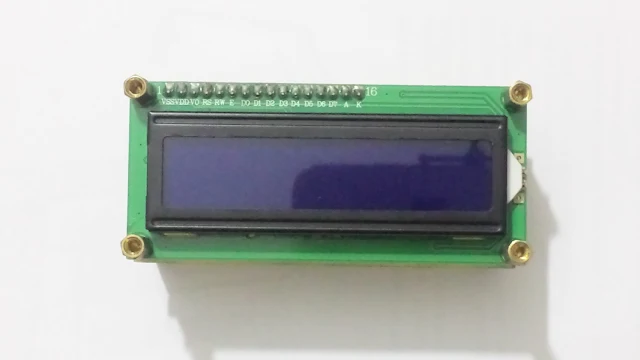
A 16x2 Character LCD Module |
Example 1
I wrote this program using MPLABX IDE and v1.51 and XC8 v2.36 (free version). It's very light-weight and simple to use. Using the Assembly language could be effective in built firmware but it could require more lines of written codes.
This simple program need almost a quarter of ROM and RAM of the target PIC16F84A chip.
 |
| Memory Resource Usage Of PIC16F84 |
Click here to download its source file
Example 2
Now let make a library for this 8-bit LCD. It requires a pair of a *.h and a *.c file. We need to include these files in project folder before we can call its functions.
 |
| Library Test |
 |
| Sample #1 |
 |
| Sample #2 |

Delivers crisp visuals and smooth performance—ideal for modern embedded interfaces and compact display needs.
ReplyDeletelcd graphic