Overview
AVR micro-controller is a popular embedded controller for electronic students, engineers and hobbyists. Making a PCB for for micro-controller is exiting stuff for novice electronic practicing. It's is hard at first time but we can easily use it for firmware and circuit testing for later on.
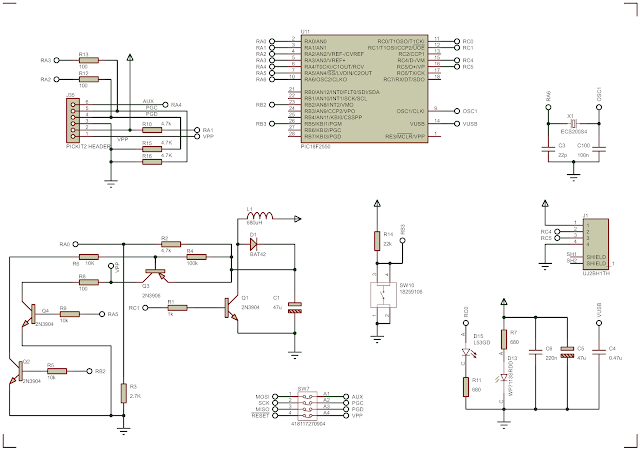
I have some components I left a long time ago. So I designed my own test board for 40-pin AVR microcontrollers. I have ATMega644, ATMega32 and ATMega16 in my project box. I also have some USB PIC microcontroller, PIC18F2550. It can be use to make a DIY PICKit2 programmer that able to program any AVR microcontroller using AVRdude IDE. This software is very user-friendly.
Some AVR micro-controller users prefer a USBasp or an FTDI chip with AVRdude to program this these chips. But currently I don't have them at my workshop.
Schematic
I use Protues VSM since it's easy to use for circuit and PCB design. I put some blocks on this board,
- A PICKit2 programmer and AVR ISP header
- A On-board 12VDC to 5VDC regulator
- A RS-232 to TTL converter
- A Reset button and external crystal oscillator
- Three buttons for ATMega32 external interrupts
- LED(s) with DIP switch connects to PORTC
- SPI header
- Two potentiometers for ADC input
- DIP switch for ADC configuration
- A DS1207 I2C RTC
- A 40-pin ZIF socket for ATMega32, ATMega16, etc.
The pictures below are its circuit diagram.

Schematic Sheet #1 
Schematic Sheet #2 
Schematic Sheet #3
It contains three A4-size sheets.
Printed Circuit Board (PCB)
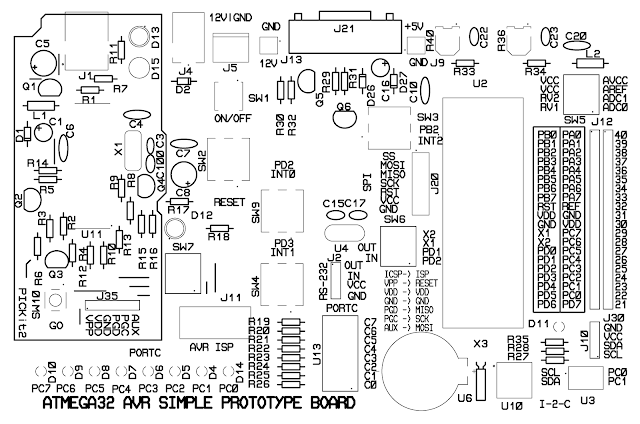
This PCB is quite large (173.7 x 111.2mm(6.84 x 4.38 inches). We can fabricate it by hand using a simple tone transfer paper method because it contain a dozen of wire jumpers on top copper layer.

Top Copper Layer 
Bottom Copper Layer
I you prefer a simple tone transfer method, use the patterns below.

Top Copper Layer 
Bottom Copper Layer 
Top Silk Layer 
Bottom Resist Layer
Some PCB fabrication could fabricate it for around 40USD.
However I made the earlier version of this board by hand using a simple toner transfer method and and FR-4 copper clad board. I use ferric chloride acid to etch the copper clad. It's very low cost and fast.
Click here to download this PCB project.


No comments:
Post a Comment